Easily submit your Dividend Statements and Trust Distribution Advices for digital signatures with FuseSign.
The Dividend Statements and Trust Distribution features bundled with Core Pro plans, make it easy to create and send these documents to your clients for digital signing.

Before you get started
Have you subscribed to FuseSign?
To send documents for digital signing with FuseSign be sure to subscribe and create an account and connect it to the ChangeGPS platform.
Connect FuseSign and ChangeGPS
By connecting FuseSign to your ChangeGPS platform you are able to send Trust Distribution and Dividend Statements for digital signing directly from the ChangeGPS platform. Click here to learn how.
Watch this video to learn how FuseSign digital signing works
Step by step guide to create new report or advice and send it for digital signing
To get started, create a new advice in the selected ChangeGPS app. On the last tab of the wizard (on the Produce section) you will now find an option to send the advice for digital signing.
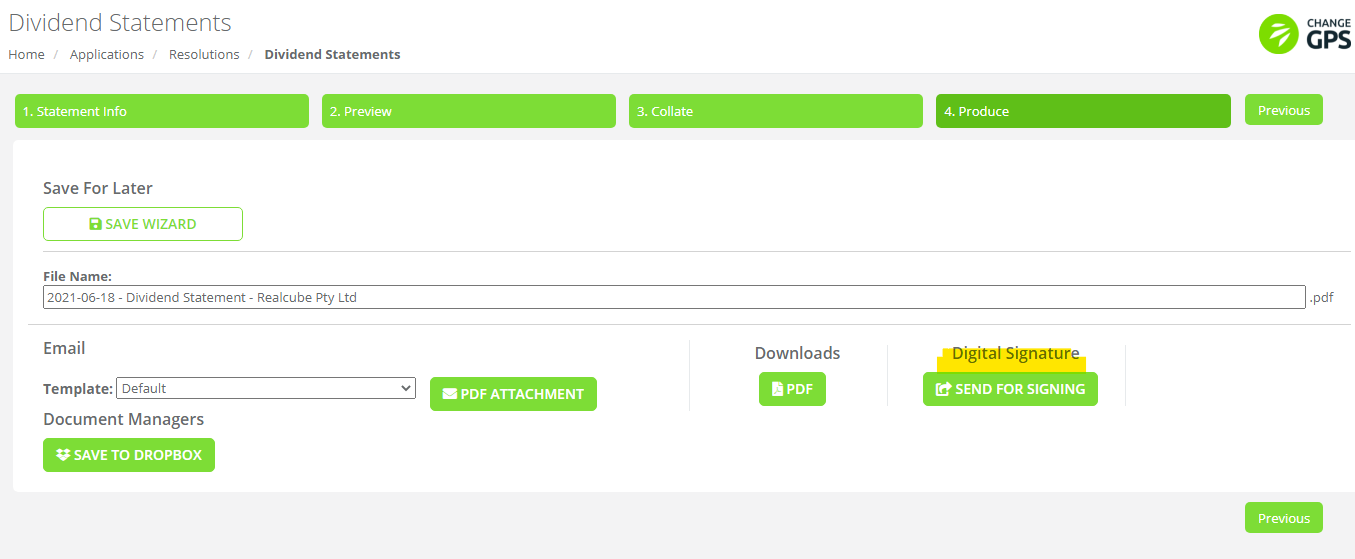
Click this to view the pop up window with the required settings and options:
- Add a personalised message and subject to be included in the recipients email
- Digital signatures can be requested for multiple Signees - select to send to All Signees or Directors Only
- Choose to send the document as a draft status for review or final for signing
- Request mobile verification if required for additional security (2-Factor Authentication)
- Enter the Name and Email addresses for required Signees - the individual or official representatives for your client. Add a mobile number (if 2-Factor Authentication is required). Unfortunately the email address will not pull through from the Client Details section. You can add these manually however.
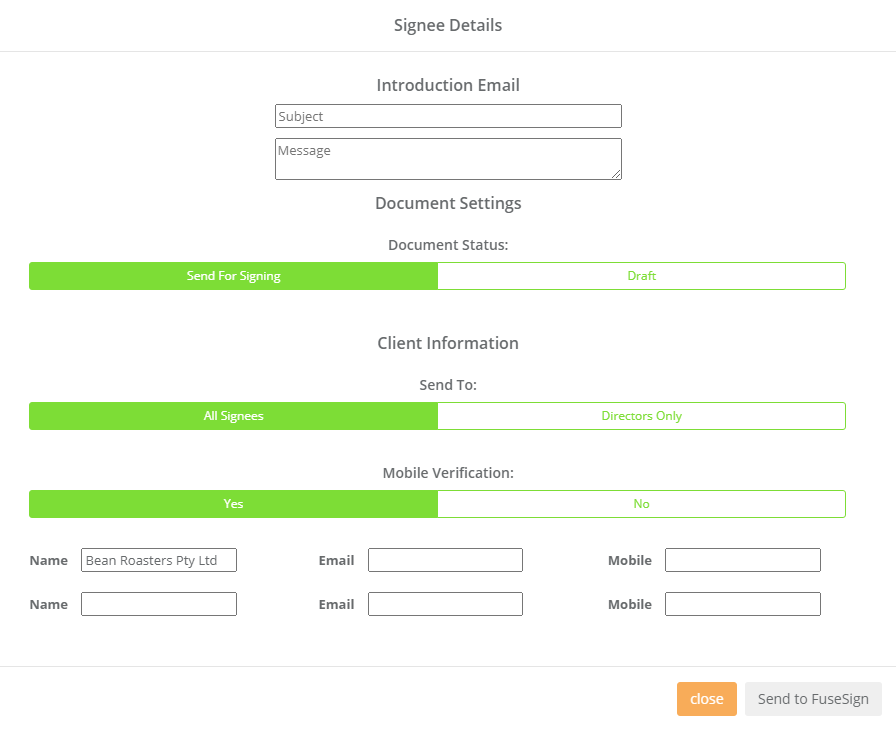
When ready, click to Send to FuseSign. Email notifications are immediately sent to the selected recipients containing a link to Open and Sign the document.
What does the Signee do to complete a sign request?
Interested to know how your clients will be notified and the process they follow in response to a sign request?
Example of an email notification received by Signee:
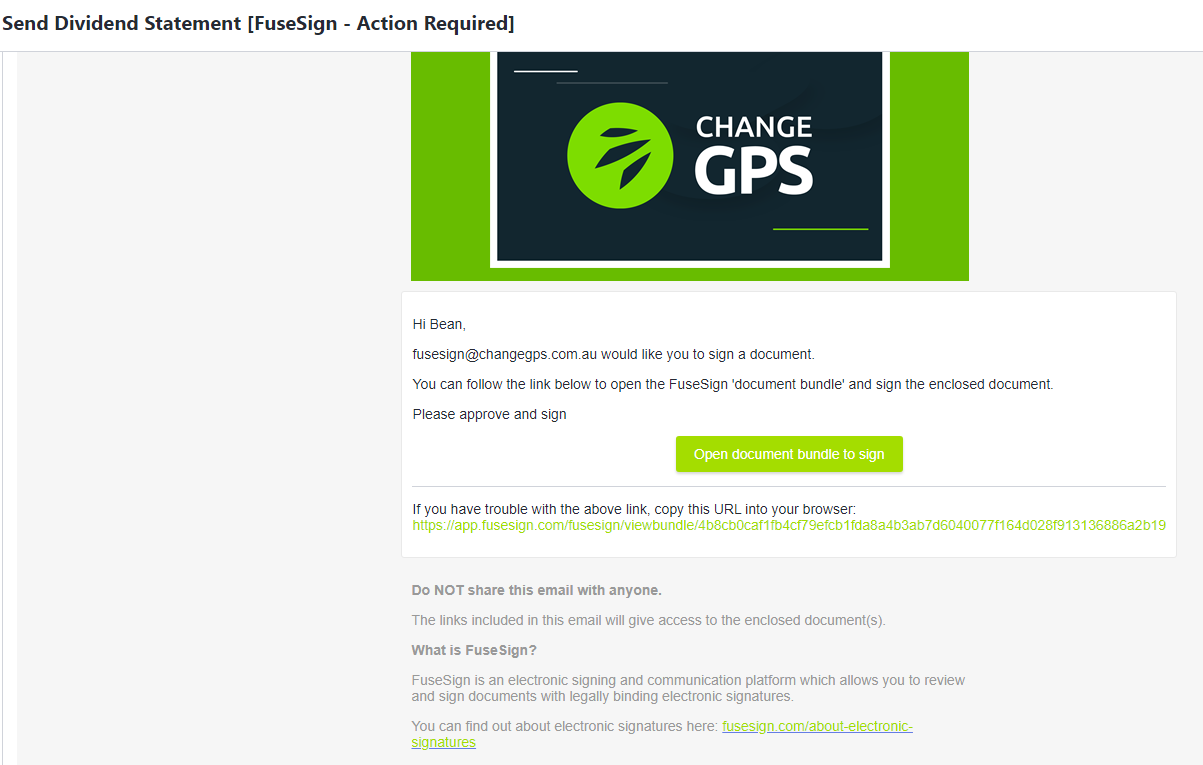
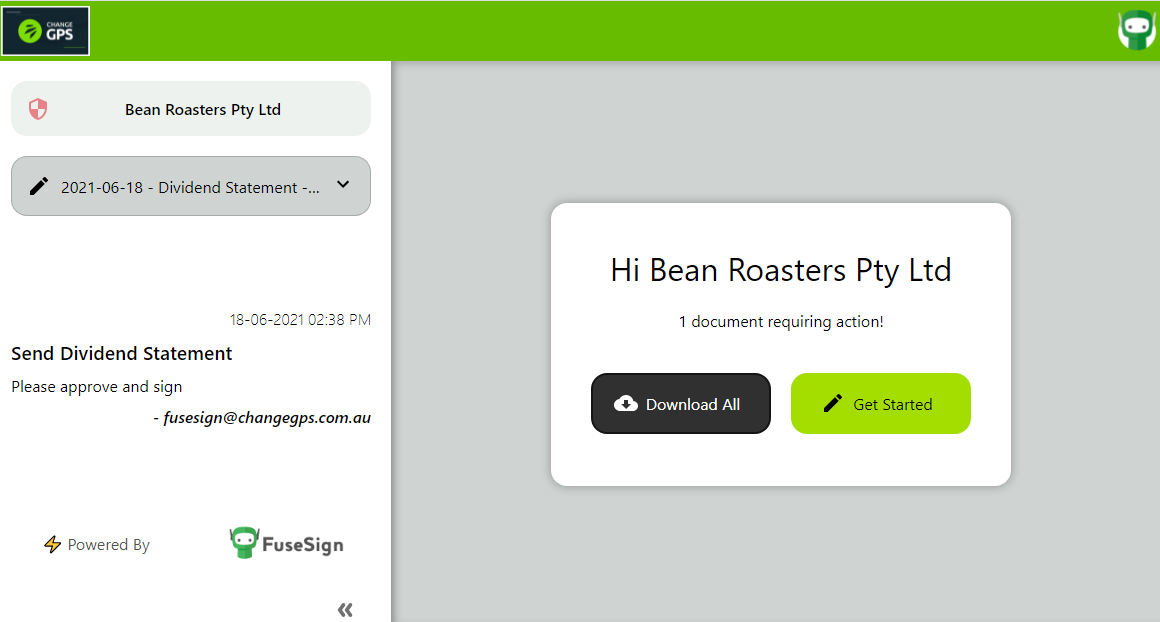
When the recipient clicks on the Open document to sign button, the FuseSign document console will open in a browser window and the Signee then simply clicks on Get Started.
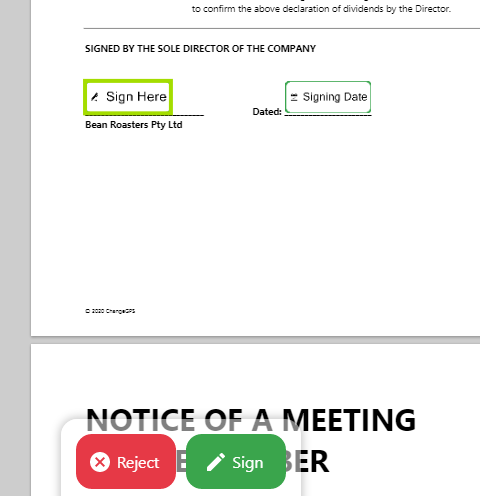
The Signee is then presented with the document pages to review and locations where a signature is required. The Signing Date field is automatically populated. The user clicks on the Sign button at the bottom of the page to progress.
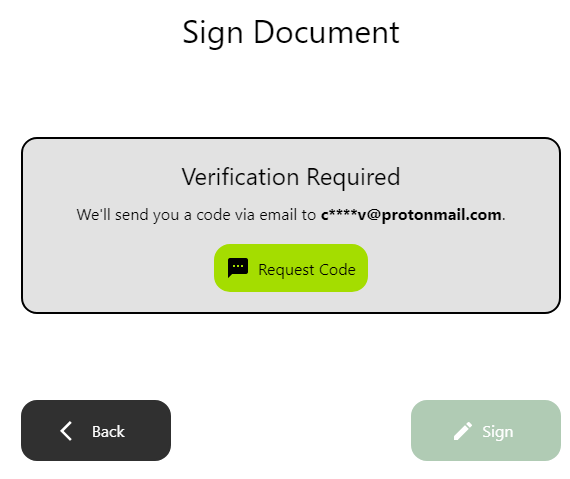
Before finally signing however, a verification code is sent to the Signee's email to validate the their identity.
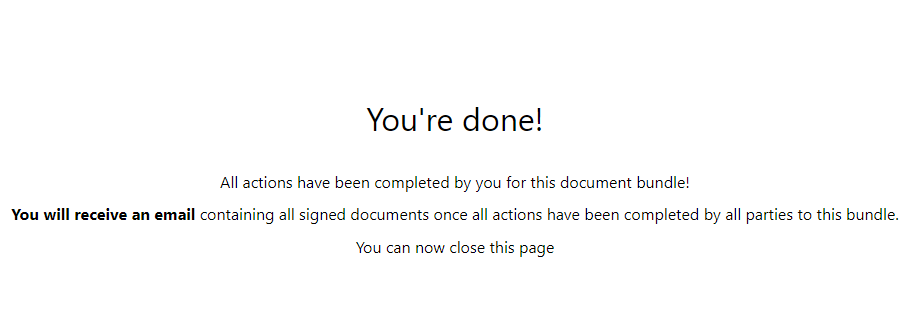
When verified and the document is signed the Signee will receive an email containing a copy of all signed documents.
Track the status and history in the ChangeGPS platform
The Sent Documents module of ChangeGPS is where you can view and manage the status of documents sent with FuseSign.
Alternatively, track the status and history within the FuseSign console
Login to your FuseSign account to see the new record in the Active Bundles section of your dashboard.

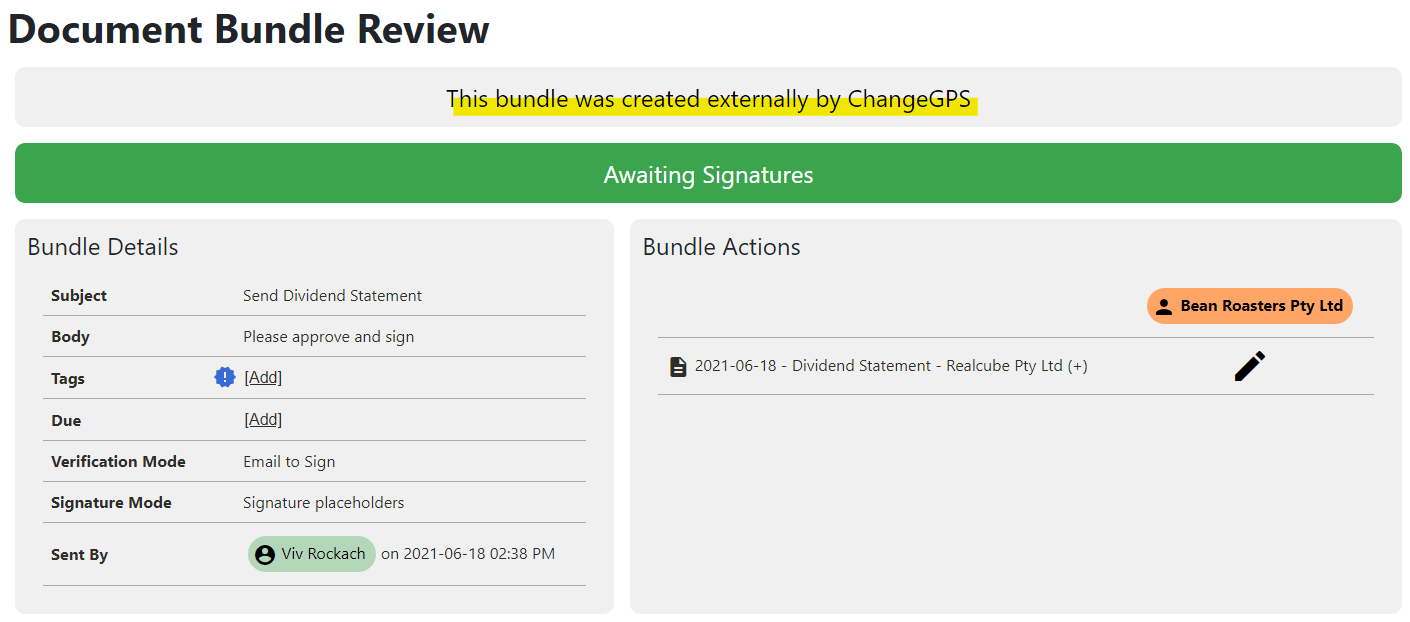
Click on each record to review the supporting details, history, recipients and status. You will note that Document Bundles created in the ChangeGPS platform will be clearly flagged.
Actions you take
- Retract
- Finalise Now
- Resend / Remind Recipients
- Download Documents

FuseSign User Guides
Learn more on the FuseSign Knowledge Hub about getting started and managing your FuseSign account
